How to remove old insulation from attic
Removing old insulation from your attic might sound like a daunting task, but with a little know-how and the right approach, it can be a manageable DIY project. Whether you're dealing with fiberglass batts or blown-in cellulose, understanding the process is key. Insulation plays a crucial role in maintaining your home's energy efficiency and comfort, so updating it when necessary is vital. With your trusty guide right here, you'll be able to tackle this project like a pro. Let's dive into how to remove old insulation from your attic.
Why Remove Old Insulation?
Before we jump into the "how," let's talk about the "why." Old insulation can lose its effectiveness over time, leading to higher energy bills and less comfort in your home. As insulation ages, it can settle, compress, or even disintegrate, reducing its insulating power. Plus, it might be harboring dust, pests, or even mold. This not only impacts energy efficiency but can also affect indoor air quality. By removing and replacing it, you're setting the stage for a more energy-efficient home. Additionally, new insulation can help reduce noise pollution and improve overall air quality, making your living environment healthier and more pleasant.
Preparing for the Job
Gather Your Tools
Before climbing up to the attic, make sure you have all the necessary tools and materials. Preparation is key to a smooth and efficient removal process. Here's what you'll need:
Protective gear (mask, gloves, goggles, coveralls): Insulation fibers and dust can be harmful if inhaled or if they come into contact with your skin.
Trash bags or large garbage bins: Essential for containing and disposing of old insulation.
A flashlight or headlamp: Attics can be dimly lit, and proper lighting helps you see what you're doing.
A rake or broom for loose insulation: Useful for gathering blown-in insulation into manageable piles.
A utility knife for cutting batts: Helps in neatly removing fiberglass batts.
A shop vacuum with a HEPA filter for cleanup: Ensures thorough cleaning of fine particles and debris.
Safety First
Attics can be tricky spaces to navigate, so safety is paramount. Always wear protective gear to avoid inhaling dust or insulation fibers. The confined space of an attic can make it easy to overlook potential hazards. Ensure the attic is well-lit and ventilated, and be cautious of stepping between joists to avoid falling through the ceiling. It's also wise to have a partner nearby in case you need assistance or in the event of an emergency. Remember, safety should never be compromised for the sake of speed.
Types of Insulation and How to Remove Them
Fiberglass Insulation
Fiberglass insulation often comes in batts or rolls. To remove it, follow these steps:
Start at the Edges: Begin at one end of the attic and work your way across. This systematic approach ensures that you cover every area without missing spots. Use your utility knife to cut any batts that are too large to handle.
Bag It Up: Roll up each section and place it in a trash bag. Be sure to seal the bag tightly to contain any fiberglass particles. This not only makes cleanup easier but also prevents fibers from escaping into the air.
Clean the Area: Once the insulation is removed, use a shop vacuum to clean up any remaining debris. A thorough cleanup ensures that no residual fibers are left behind, setting a clean stage for new insulation.
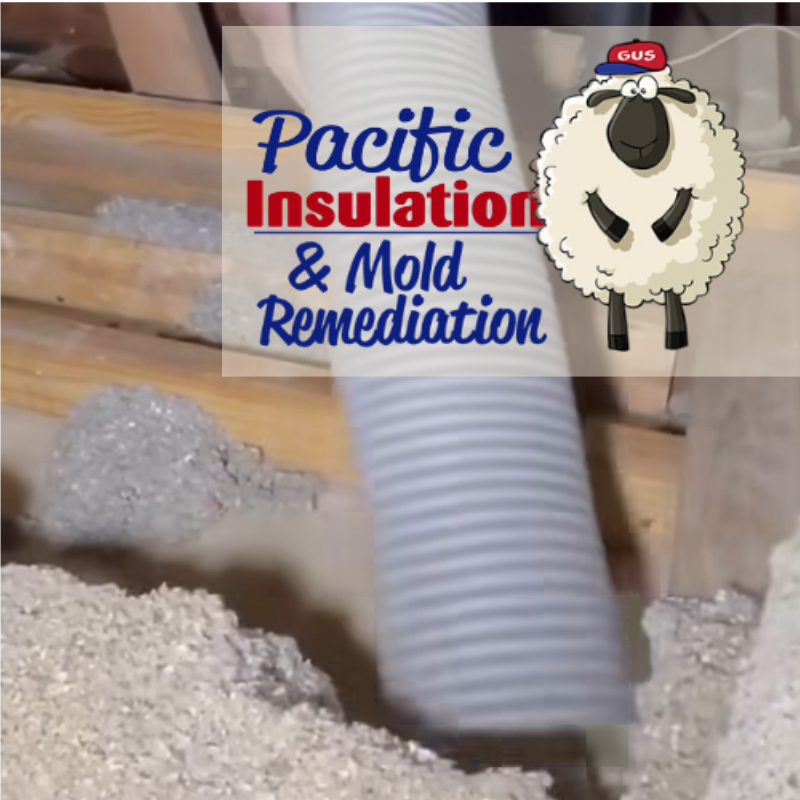
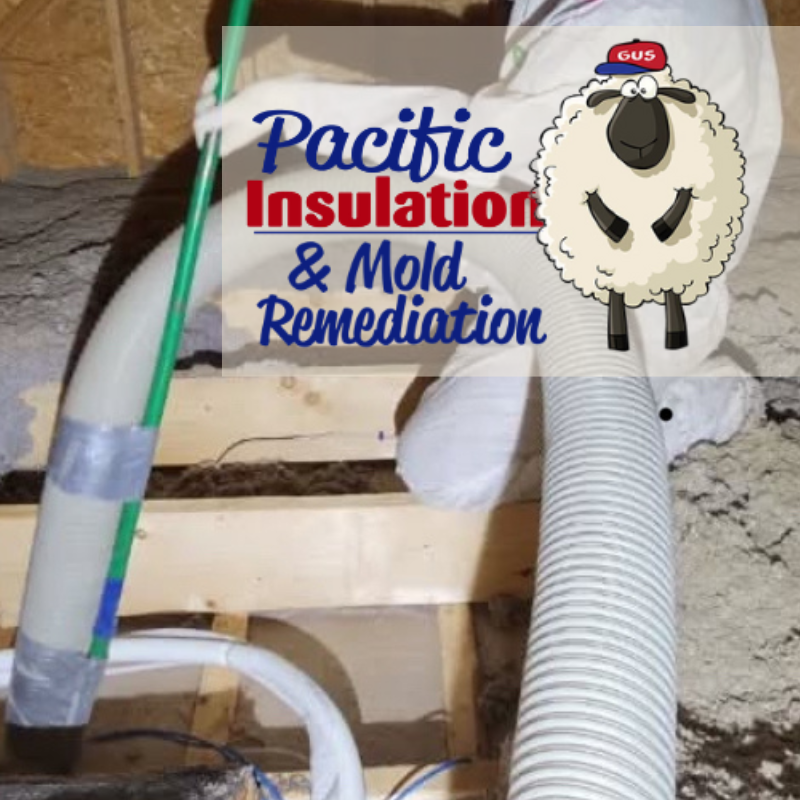
Blown-In Insulation
Blown-in insulation, like cellulose, is a bit more challenging but totally doable. This type of insulation can settle and compress over time, making removal necessary for optimal energy efficiency.
Rake and Gather: Use a rake or broom to gather the loose insulation into piles. This method makes it easier to manage and collect the insulation.
Vacuum It Up: With a shop vacuum equipped with a HEPA filter, suck up the insulation. This can be time-consuming, but it's effective in ensuring that fine particles are captured.
Dispose Properly: Make sure the insulation is properly sealed in bags for disposal. Proper disposal is not only environmentally responsible but also prevents recontamination of the attic space.
Dealing with Asbestos
If your home is older, there's a chance your insulation might contain asbestos. If you suspect this, do not attempt to remove it yourself. Asbestos is hazardous, and removal should be handled by professionals. Hiring a licensed asbestos abatement company ensures that the material is handled safely and in compliance with local regulations. Attempting to remove asbestos on your own can expose you and your family to significant health risks.
After the Removal
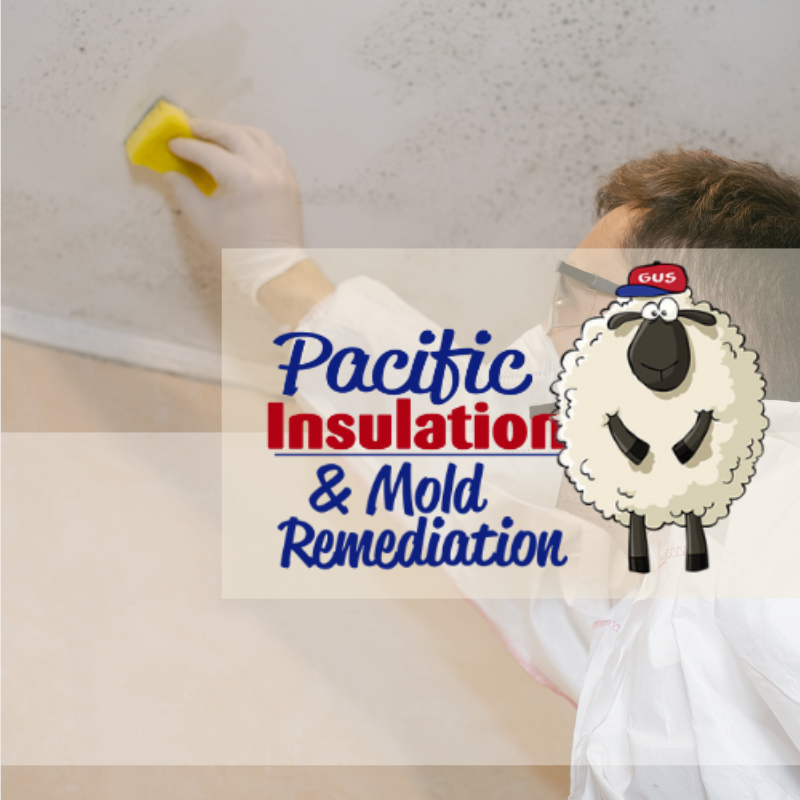
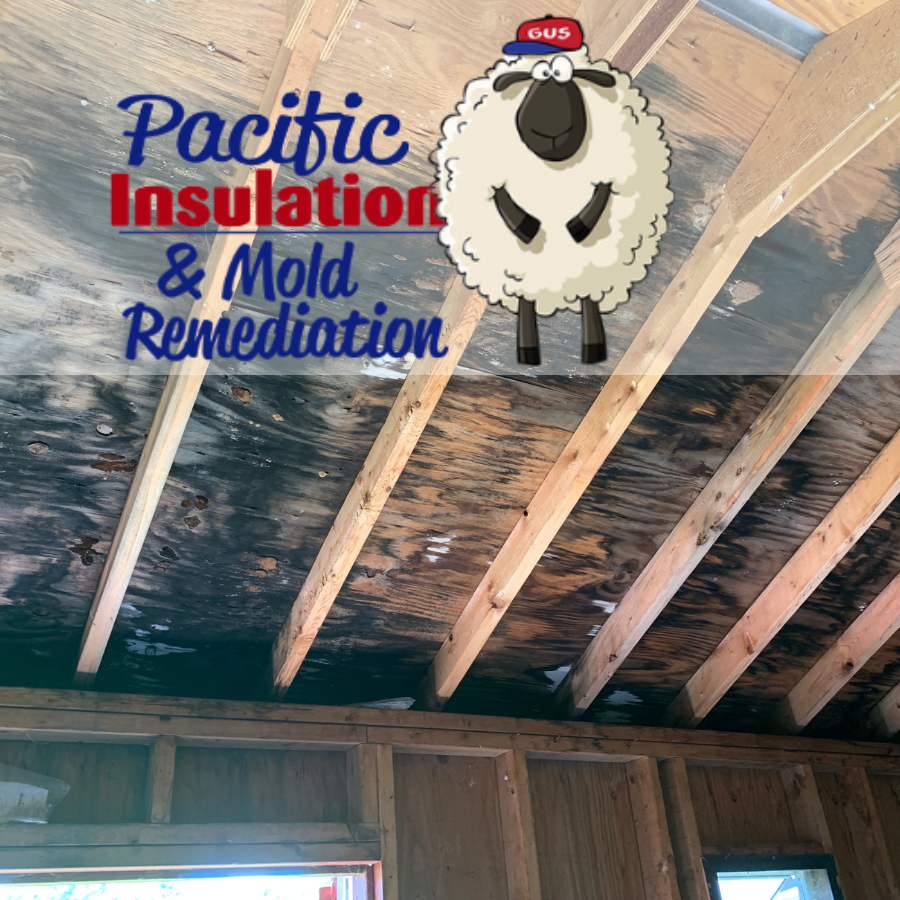
Inspect for Damage
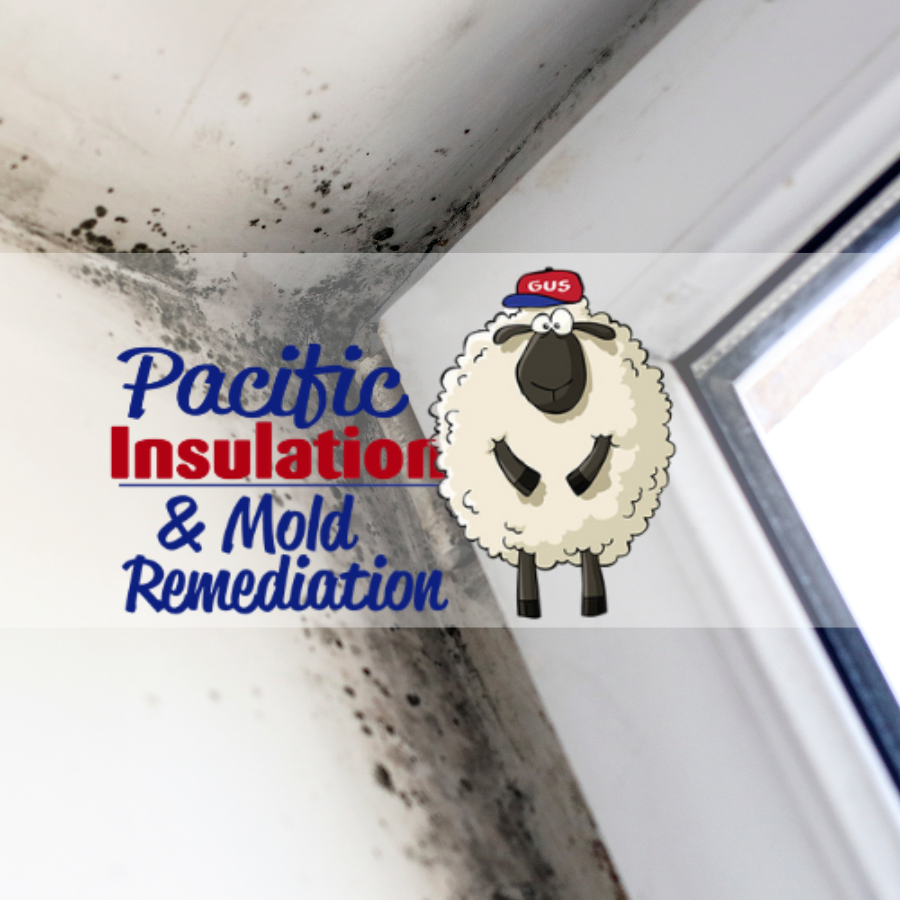
Once the old insulation is out, take a moment to inspect your attic. Look for any signs of water damage, mold, or pest infestations. These issues can compromise the effectiveness of new insulation and should be addressed before installation. Addressing these issues now will save you headaches down the line. Repair any leaks, treat mold, and seal entry points to prevent future infestations.
Clean the Space
Give the attic a good clean. A thorough vacuuming will help remove any lingering dust and debris. This sets a clean slate for new insulation. Ensure the space is dry and free from moisture, as dampness can hinder the performance of new insulation materials. A clean, dry attic is crucial for the longevity and effectiveness of your new insulation.
Preparing for New Insulation
Before installing new insulation, ensure your attic is in good condition. Seal any air leaks and add ventilation if needed. Air leaks can reduce the effectiveness of even the best insulation, so sealing them is crucial. This will help your new insulation work more effectively, maximizing its energy-saving potential.
Choosing the Right Insulation
When it comes time to install new insulation, you have several options. Fiberglass, cellulose, and spray foam are popular choices, each with their own benefits. Fiberglass is cost-effective, cellulose is eco-friendly, and spray foam offers superior air sealing. Consider factors like R-value, cost, and ease of installation when making your choice. Additionally, think about your specific climate and insulation needs to choose the best material for your home.
Getting the Job Done
Installing new insulation can often be a weekend project. With proper planning and preparation, you can complete the installation efficiently. If you're unsure about the best type for your home, consult with a professional. They can provide guidance tailored to your specific needs and ensure your attic is insulated efficiently. A professional can also help with installation, ensuring it's done correctly and meets local building codes.
Final Thoughts
Removing old insulation might not be the most glamorous task, but it's a crucial step towards a more energy-efficient home. With patience and careful attention to detail, you can successfully tackle this project yourself. Remember, safety always comes first. If at any point you feel unsure or overwhelmed, don't hesitate to call in a professional. They can ensure the job is done safely and correctly, giving you peace of mind. By following these steps, you're well on your way to transforming your attic into a well-insulated space, ultimately saving money and enhancing comfort in your home. Good luck, and happy insulating!